Form Builder
Getting started
Overview
Filament's form package allows you to easily build dynamic forms in your app. You can use it to add a form to any Livewire component. Additionally, it's used within other Filament packages to render forms within app resources, action modals, table filters, and more. Learning how to build forms is essential to learning how to use these Filament packages.
This guide will walk you through the basics of building forms with Filament's form package. If you're planning to add a new form to your own Livewire component, you should do that first and then come back. If you're adding a form to an app resource, or another Filament package, you're ready to go!
Form schemas
All Filament forms have a "schema". This is an array, which contains fields and layout components.
Fields are the inputs that your user will fill their data into. For example, HTML's <input> or <select> elements. Each field has its own PHP class. For example, the TextInput class is used to render a text input field, and the Select class is used to render a select field. You can see a full list of available fields here.
Layout components are used to group fields together, and to control how they are displayed. For example, you can use a Grid component to display multiple fields side-by-side, or a Wizard to separate fields into a multistep form. You can deeply nest layout components within each other to create very complex responsive UIs. You can see a full list of available layout components here.
Adding fields to a form schema
Initialise a field or layout component with the make() method, and build a schema array with multiple fields:
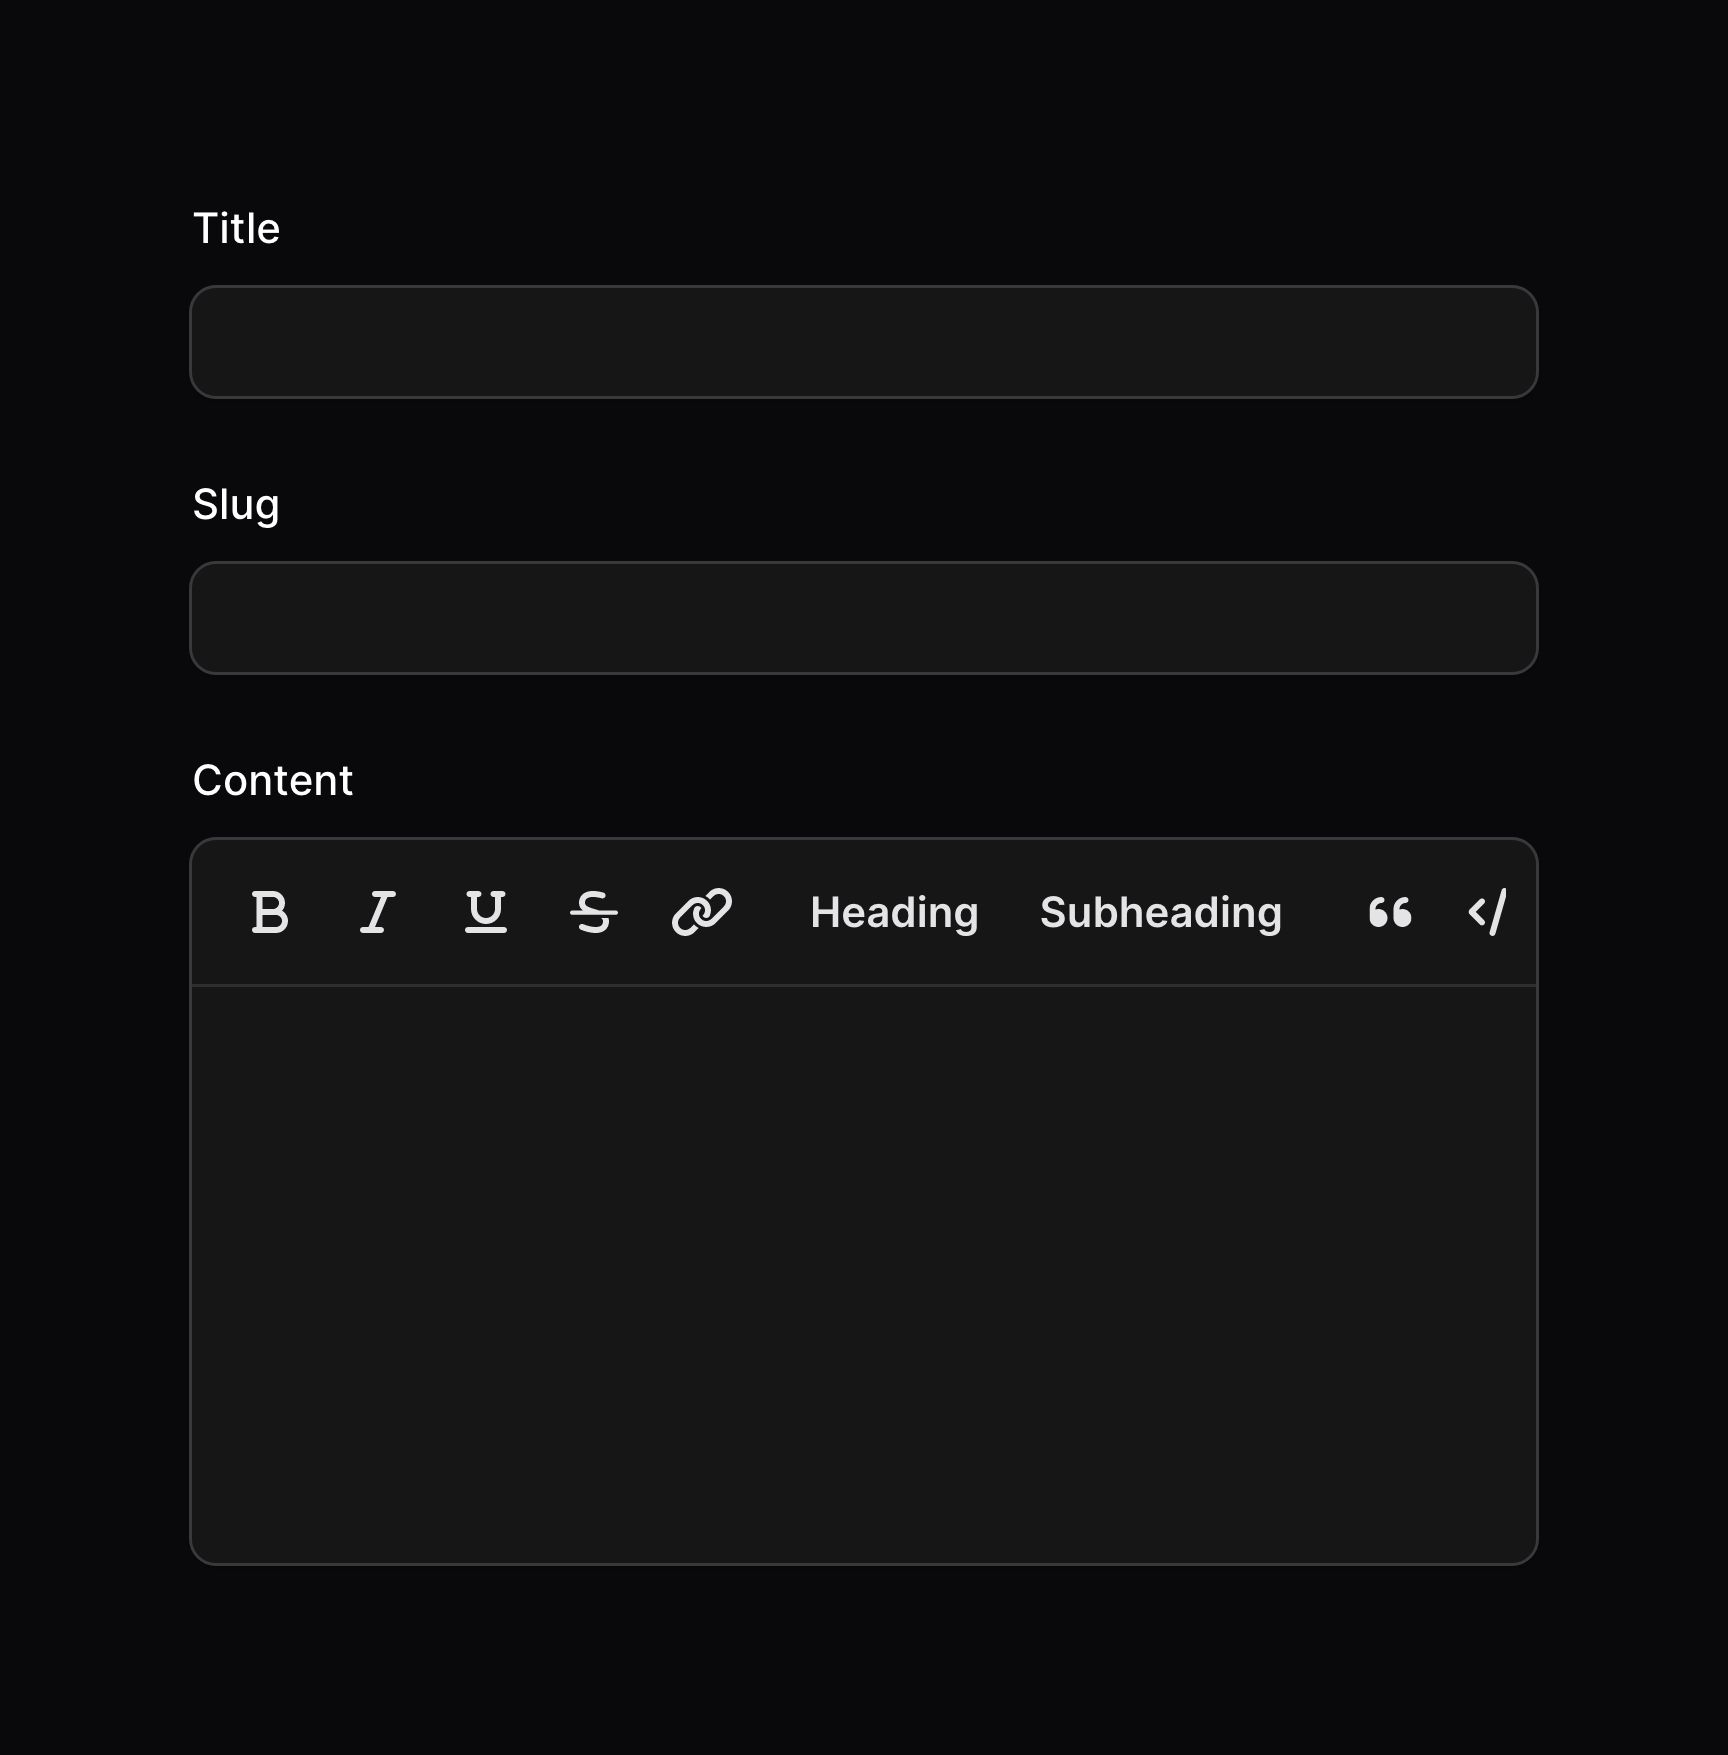
use Filament\Forms\Components\RichEditor;use Filament\Forms\Components\TextInput;use Filament\Forms\Form; public function form(Form $form): Form{ return $form ->schema([ TextInput::make('title'), TextInput::make('slug'), RichEditor::make('content'), ]);}
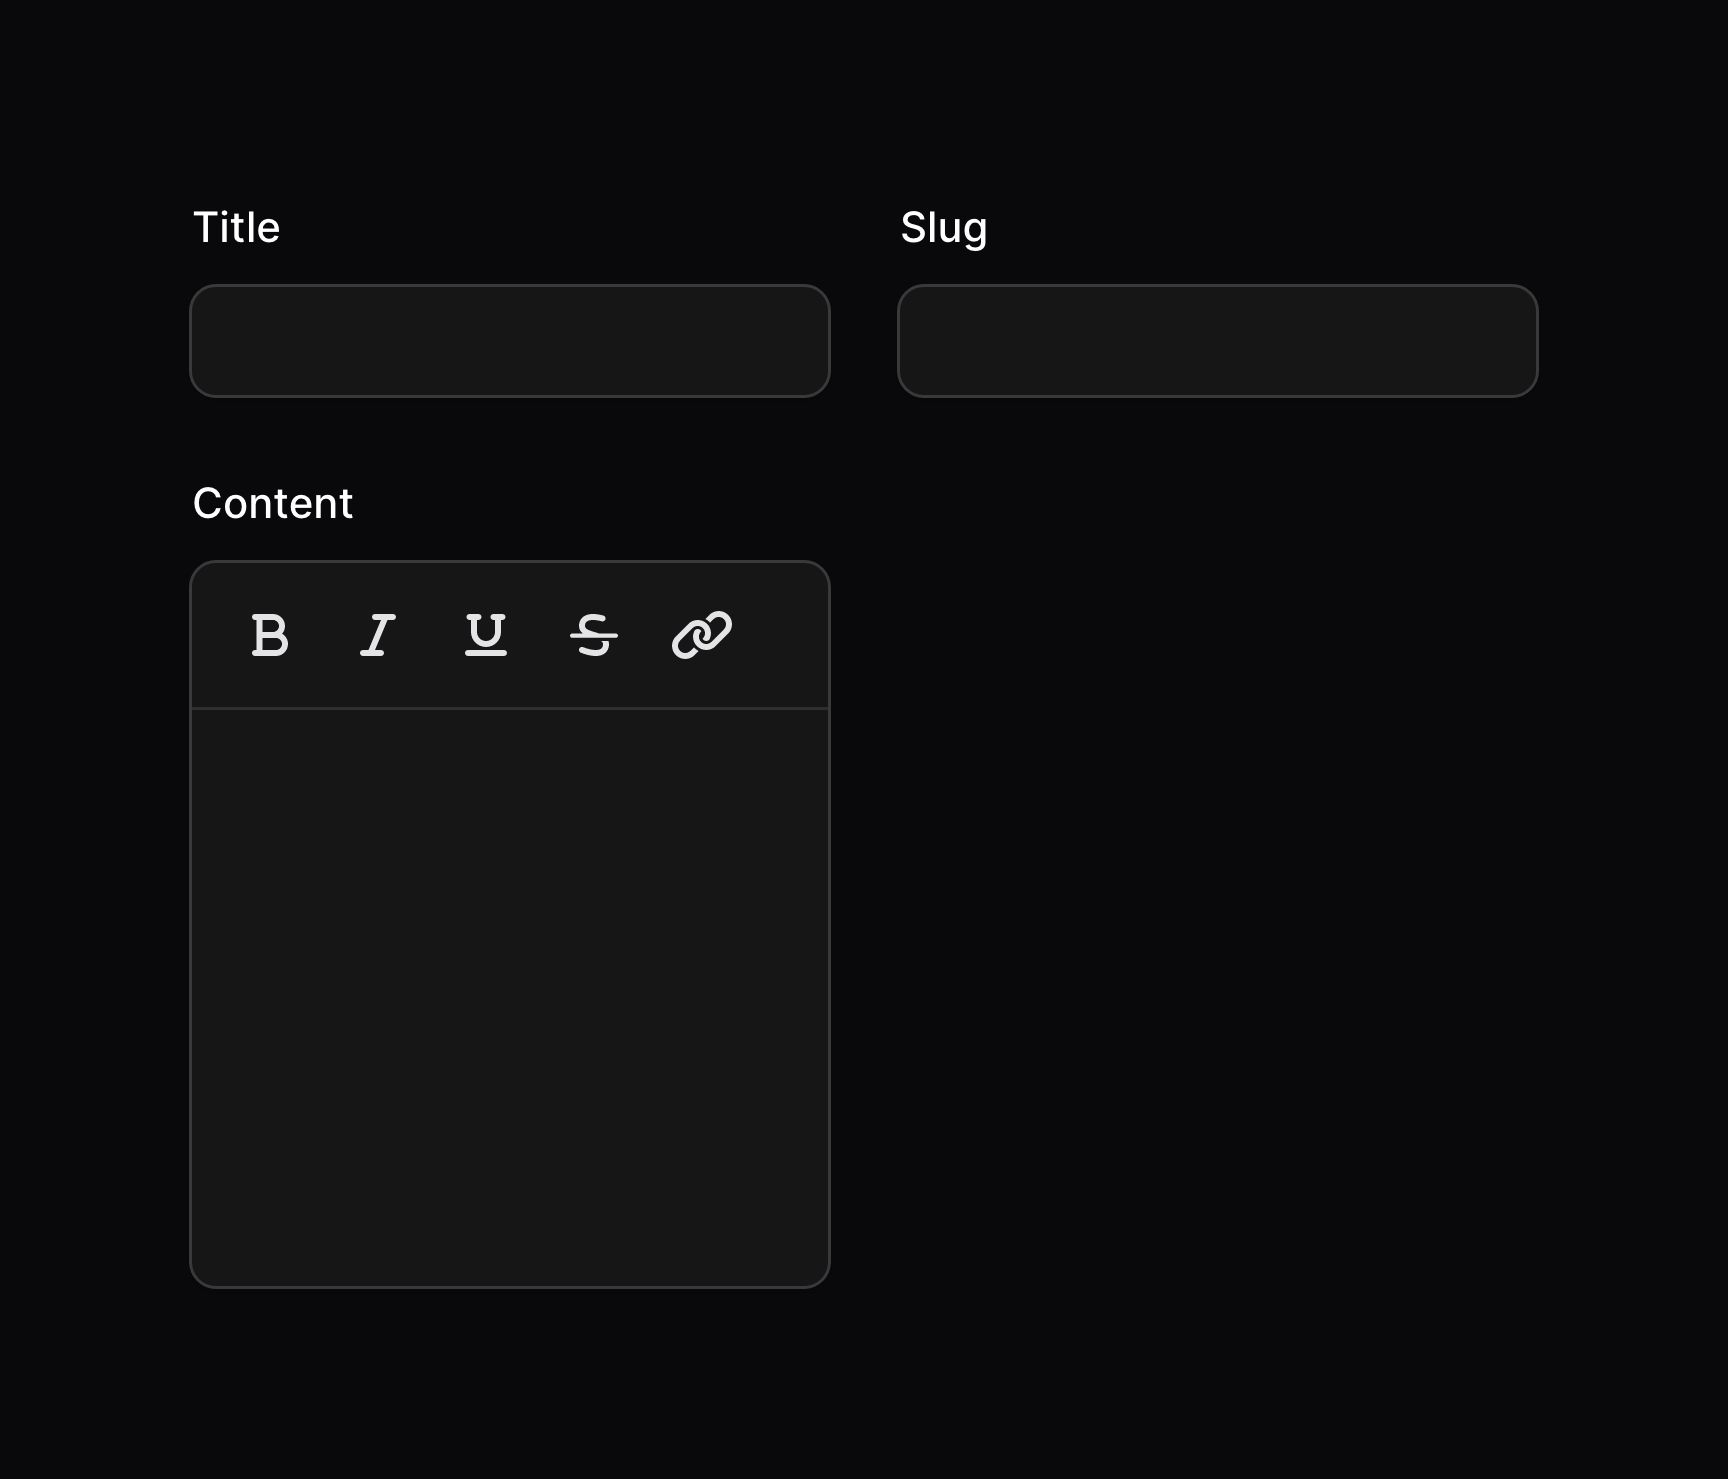
Forms within a panel and other packages usually have 2 columns by default. For custom forms, you can use the columns() method to achieve the same effect:
$form ->schema([ // ... ]) ->columns(2);
Now, the RichEditor will only consume half of the available width. We can use the columnSpan() method to make it span the full width:
use Filament\Forms\Components\RichEditor;use Filament\Forms\Components\TextInput; [ TextInput::make('title'), TextInput::make('slug'), RichEditor::make('content') ->columnSpan(2), // or `columnSpan('full')`]
You can learn more about columns and spans in the layout documentation. You can even make them responsive!
Adding layout components to a form schema
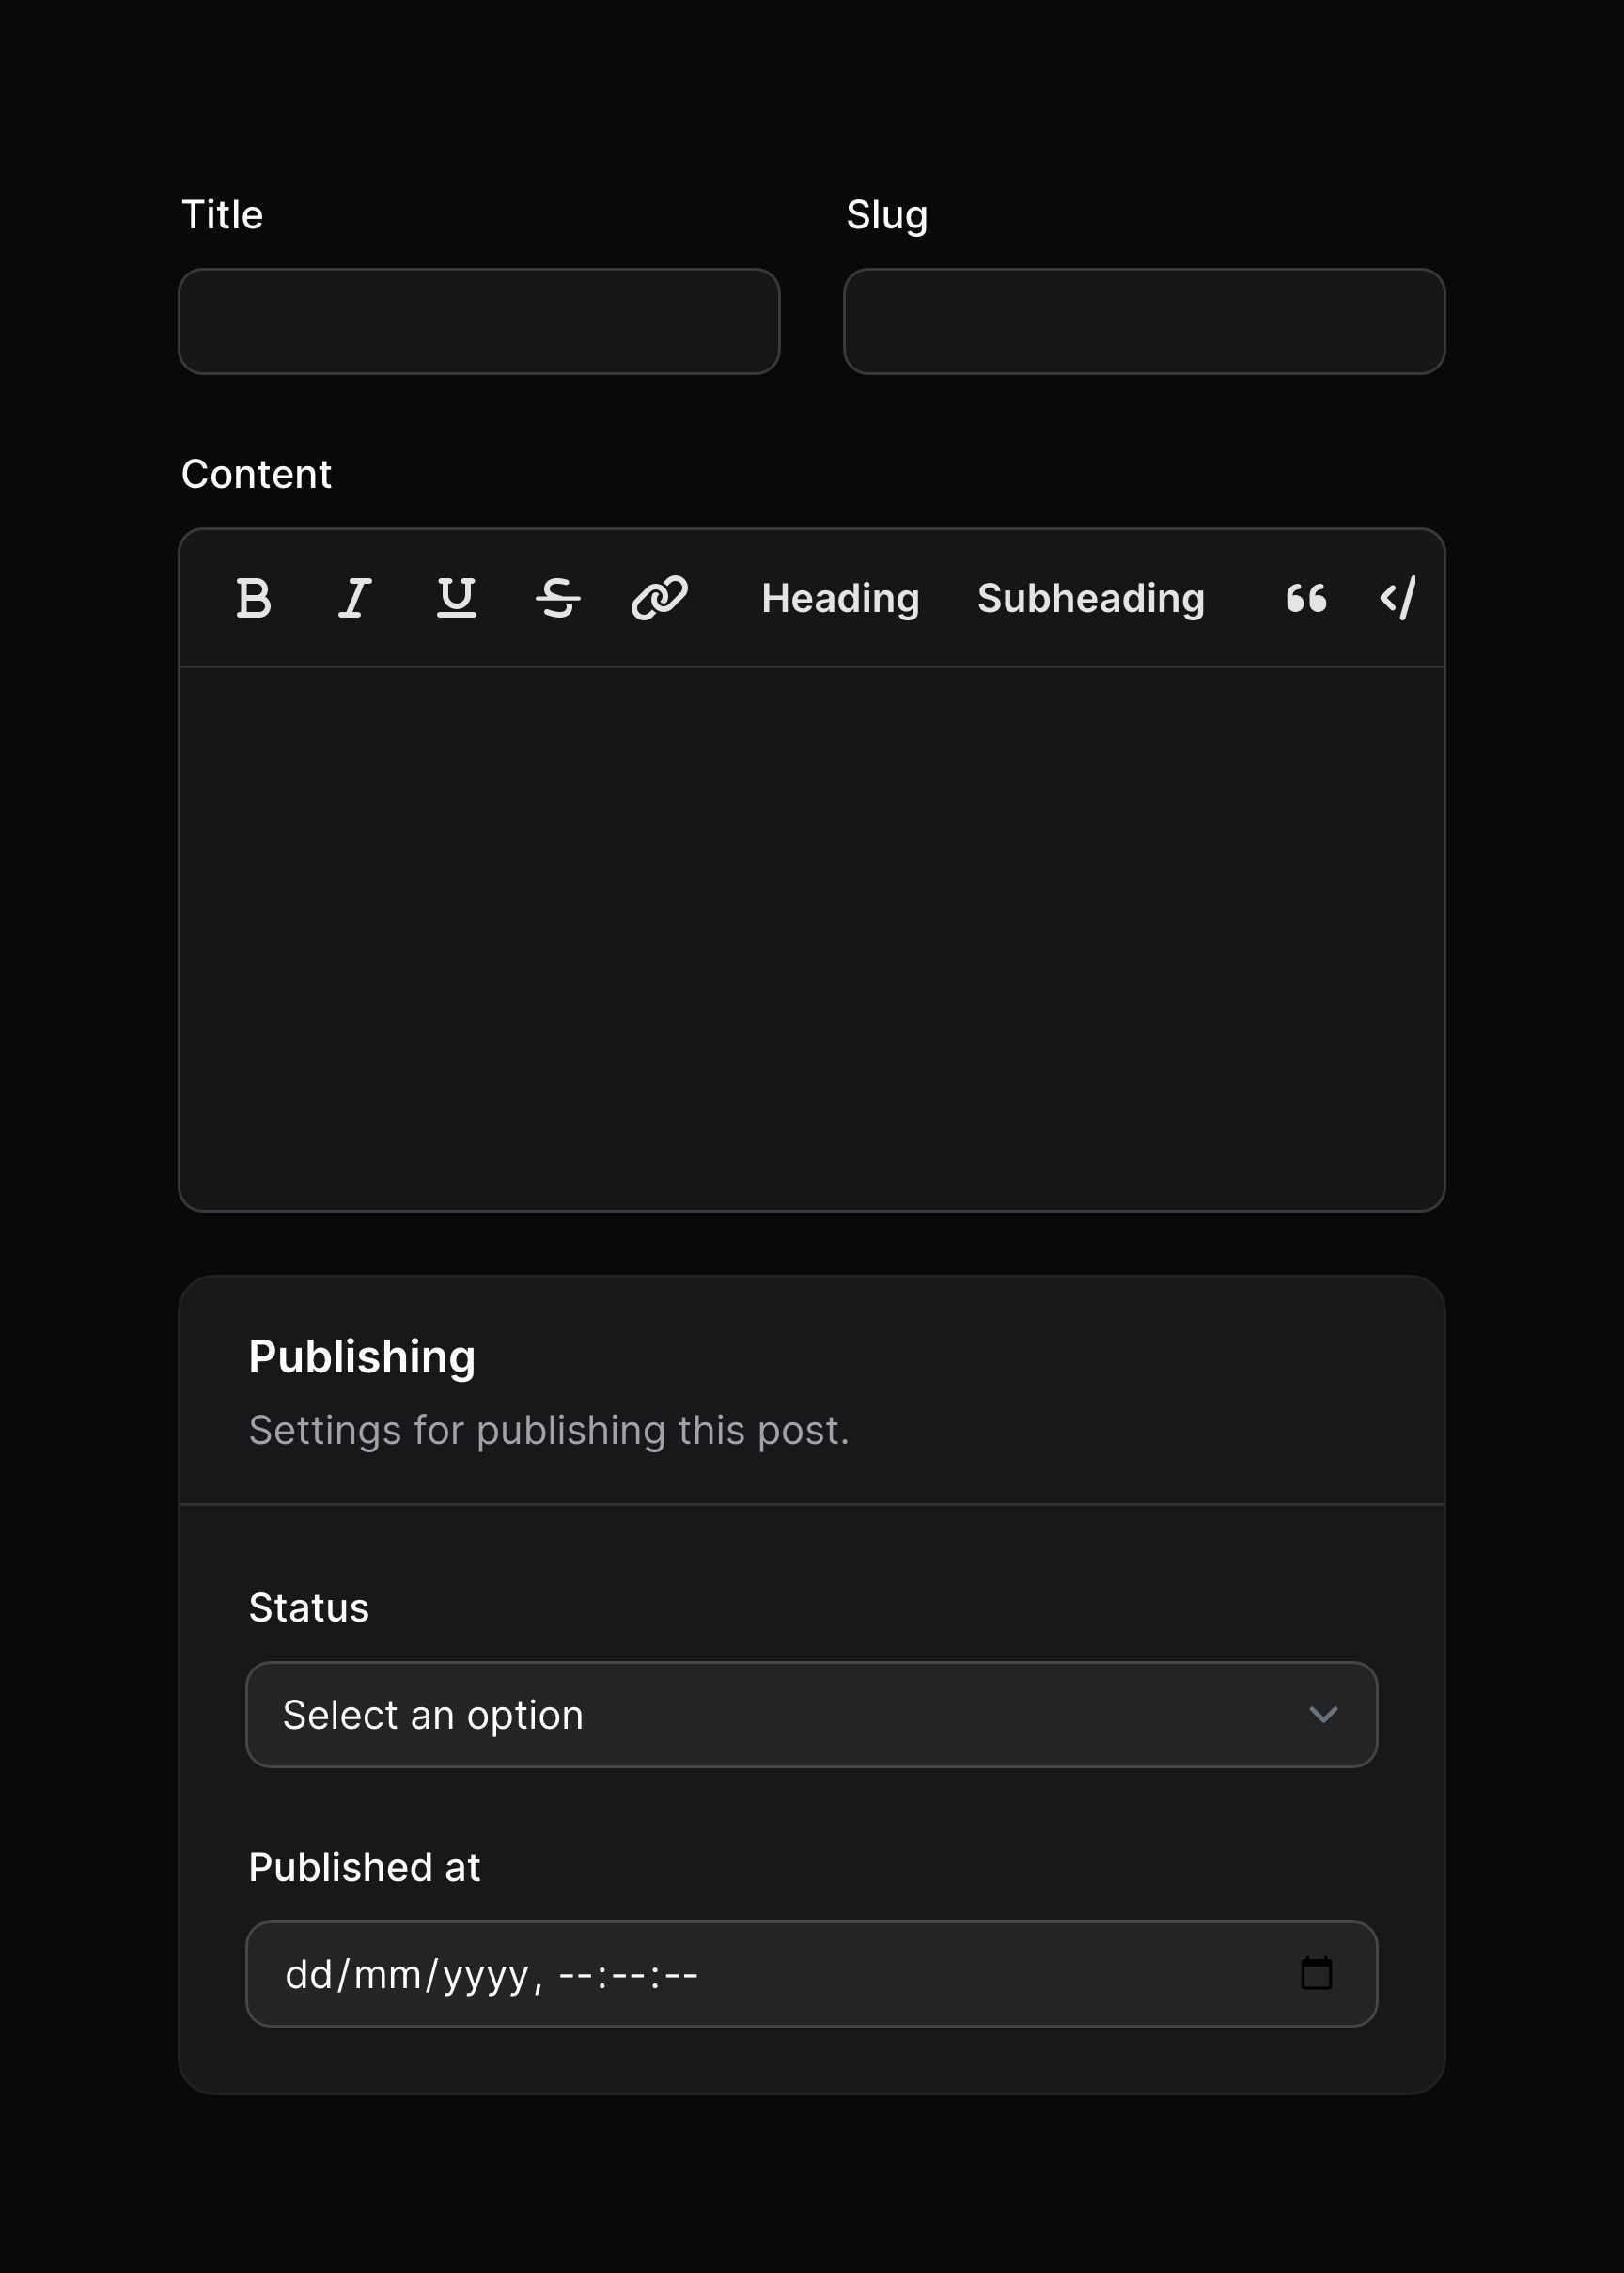
Let's add a new Section to our form. Section is a layout component, and it allows you to add a heading and description to a set of fields. It can also allow fields inside it to collapse, which saves space in long forms.
use Filament\Forms\Components\RichEditor;use Filament\Forms\Components\Section;use Filament\Forms\Components\TextInput; [ TextInput::make('title'), TextInput::make('slug'), RichEditor::make('content') ->columnSpan(2), Section::make('Publishing') ->description('Settings for publishing this post.') ->schema([ // ... ]),]In this example, you can see how the Section component has its own schema() method. You can use this to nest other fields and layout components inside:
use Filament\Forms\Components\DateTimePicker;use Filament\Forms\Components\Section;use Filament\Forms\Components\Select; Section::make('Publishing') ->description('Settings for publishing this post.') ->schema([ Select::make('status') ->options([ 'draft' => 'Draft', 'reviewing' => 'Reviewing', 'published' => 'Published', ]), DateTimePicker::make('published_at'), ])
This section now contains a Select field and a DateTimePicker field. You can learn more about those fields and their functionalities on the respective docs pages.
Validating fields
In Laravel, validation rules are usually defined in arrays like ['required', 'max:255'] or a combined string like required|max:255. This is fine if you're exclusively working in the backend with simple form requests. But Filament is also able to give your users frontend validation, so they can fix their mistakes before any backend requests are made.
In Filament, you can add validation rules to your fields by using methods like required() and maxLength(). This is also advantageous over Laravel's validation syntax, since your IDE can autocomplete these methods:
use Filament\Forms\Components\DateTimePicker;use Filament\Forms\Components\RichEditor;use Filament\Forms\Components\Section;use Filament\Forms\Components\Select;use Filament\Forms\Components\TextInput; [ TextInput::make('title') ->required() ->maxLength(255), TextInput::make('slug') ->required() ->maxLength(255), RichEditor::make('content') ->columnSpan(2) ->maxLength(65535), Section::make('Publishing') ->description('Settings for publishing this post.') ->schema([ Select::make('status') ->options([ 'draft' => 'Draft', 'reviewing' => 'Reviewing', 'published' => 'Published', ]) ->required(), DateTimePicker::make('published_at'), ]),]In this example, some fields are required(), and some have a maxLength(). We have methods for most of Laravel's validation rules, and you can even add your own custom rules.
Dependant fields
Since all Filament forms are built on top of Livewire, form schemas are completely dynamic. There are so many possibilities, but here are a couple of examples of how you can use this to your advantage:
Fields can hide or show based on another field's values. In our form, we can hide the published_at timestamp field until the status field is set to published. This is done by passing a closure to the hidden() method, which allows you to dynamically hide or show a field while the form is being used. Closures have access to many useful arguments like $get, and you can find a full list here. The field that you depend on (the status in this case) needs to be set to live(), which tells the form to reload the schema each time it gets changed.
use Filament\Forms\Components\DateTimePicker;use Filament\Forms\Components\Select;use Filament\Forms\Get; [ Select::make('status') ->options([ 'draft' => 'Draft', 'reviewing' => 'Reviewing', 'published' => 'Published', ]) ->required() ->live(), DateTimePicker::make('published_at') ->hidden(fn (Get $get) => $get('status') !== 'published'),]It's not just hidden() - all Filament form methods support closures like this. You can use them to change the label, placeholder, or even the options of a field, based on another. You can even use them to add new fields to the form, or remove them. This is a powerful tool that allows you to create complex forms with minimal effort.
Fields can also write data to other fields. For example, we can set the title to automatically generate a slug when the title is changed. This is done by passing a closure to the afterStateUpdated() method, which gets run each time the title is changed. This closure has access to the title ($state) and a function ($set) to set the slug field's state. You can find a full list of closure arguments here. The field that you depend on (the title in this case) needs to be set to live(), which tells the form to reload and set the slug each time it gets changed.
use Filament\Forms\Components\TextInput;use Filament\Forms\Set;use Illuminate\Support\Str; [ TextInput::make('title') ->required() ->maxLength(255) ->live() ->afterStateUpdated(function (Set $set, $state) { $set('slug', Str::slug($state)); }), TextInput::make('slug') ->required() ->maxLength(255),]Next steps with the forms package
Now you've finished reading this guide, where to next? Here are some suggestions:
- Explore the available fields to collect input from your users.
- Check out the list of layout components to craft intuitive form structures with.
- Find out about all advanced techniques that you can customize forms to your needs.
- Write automated tests for your forms using our suite of helper methods.
Still need help? Join our Discord community or open a GitHub discussion


