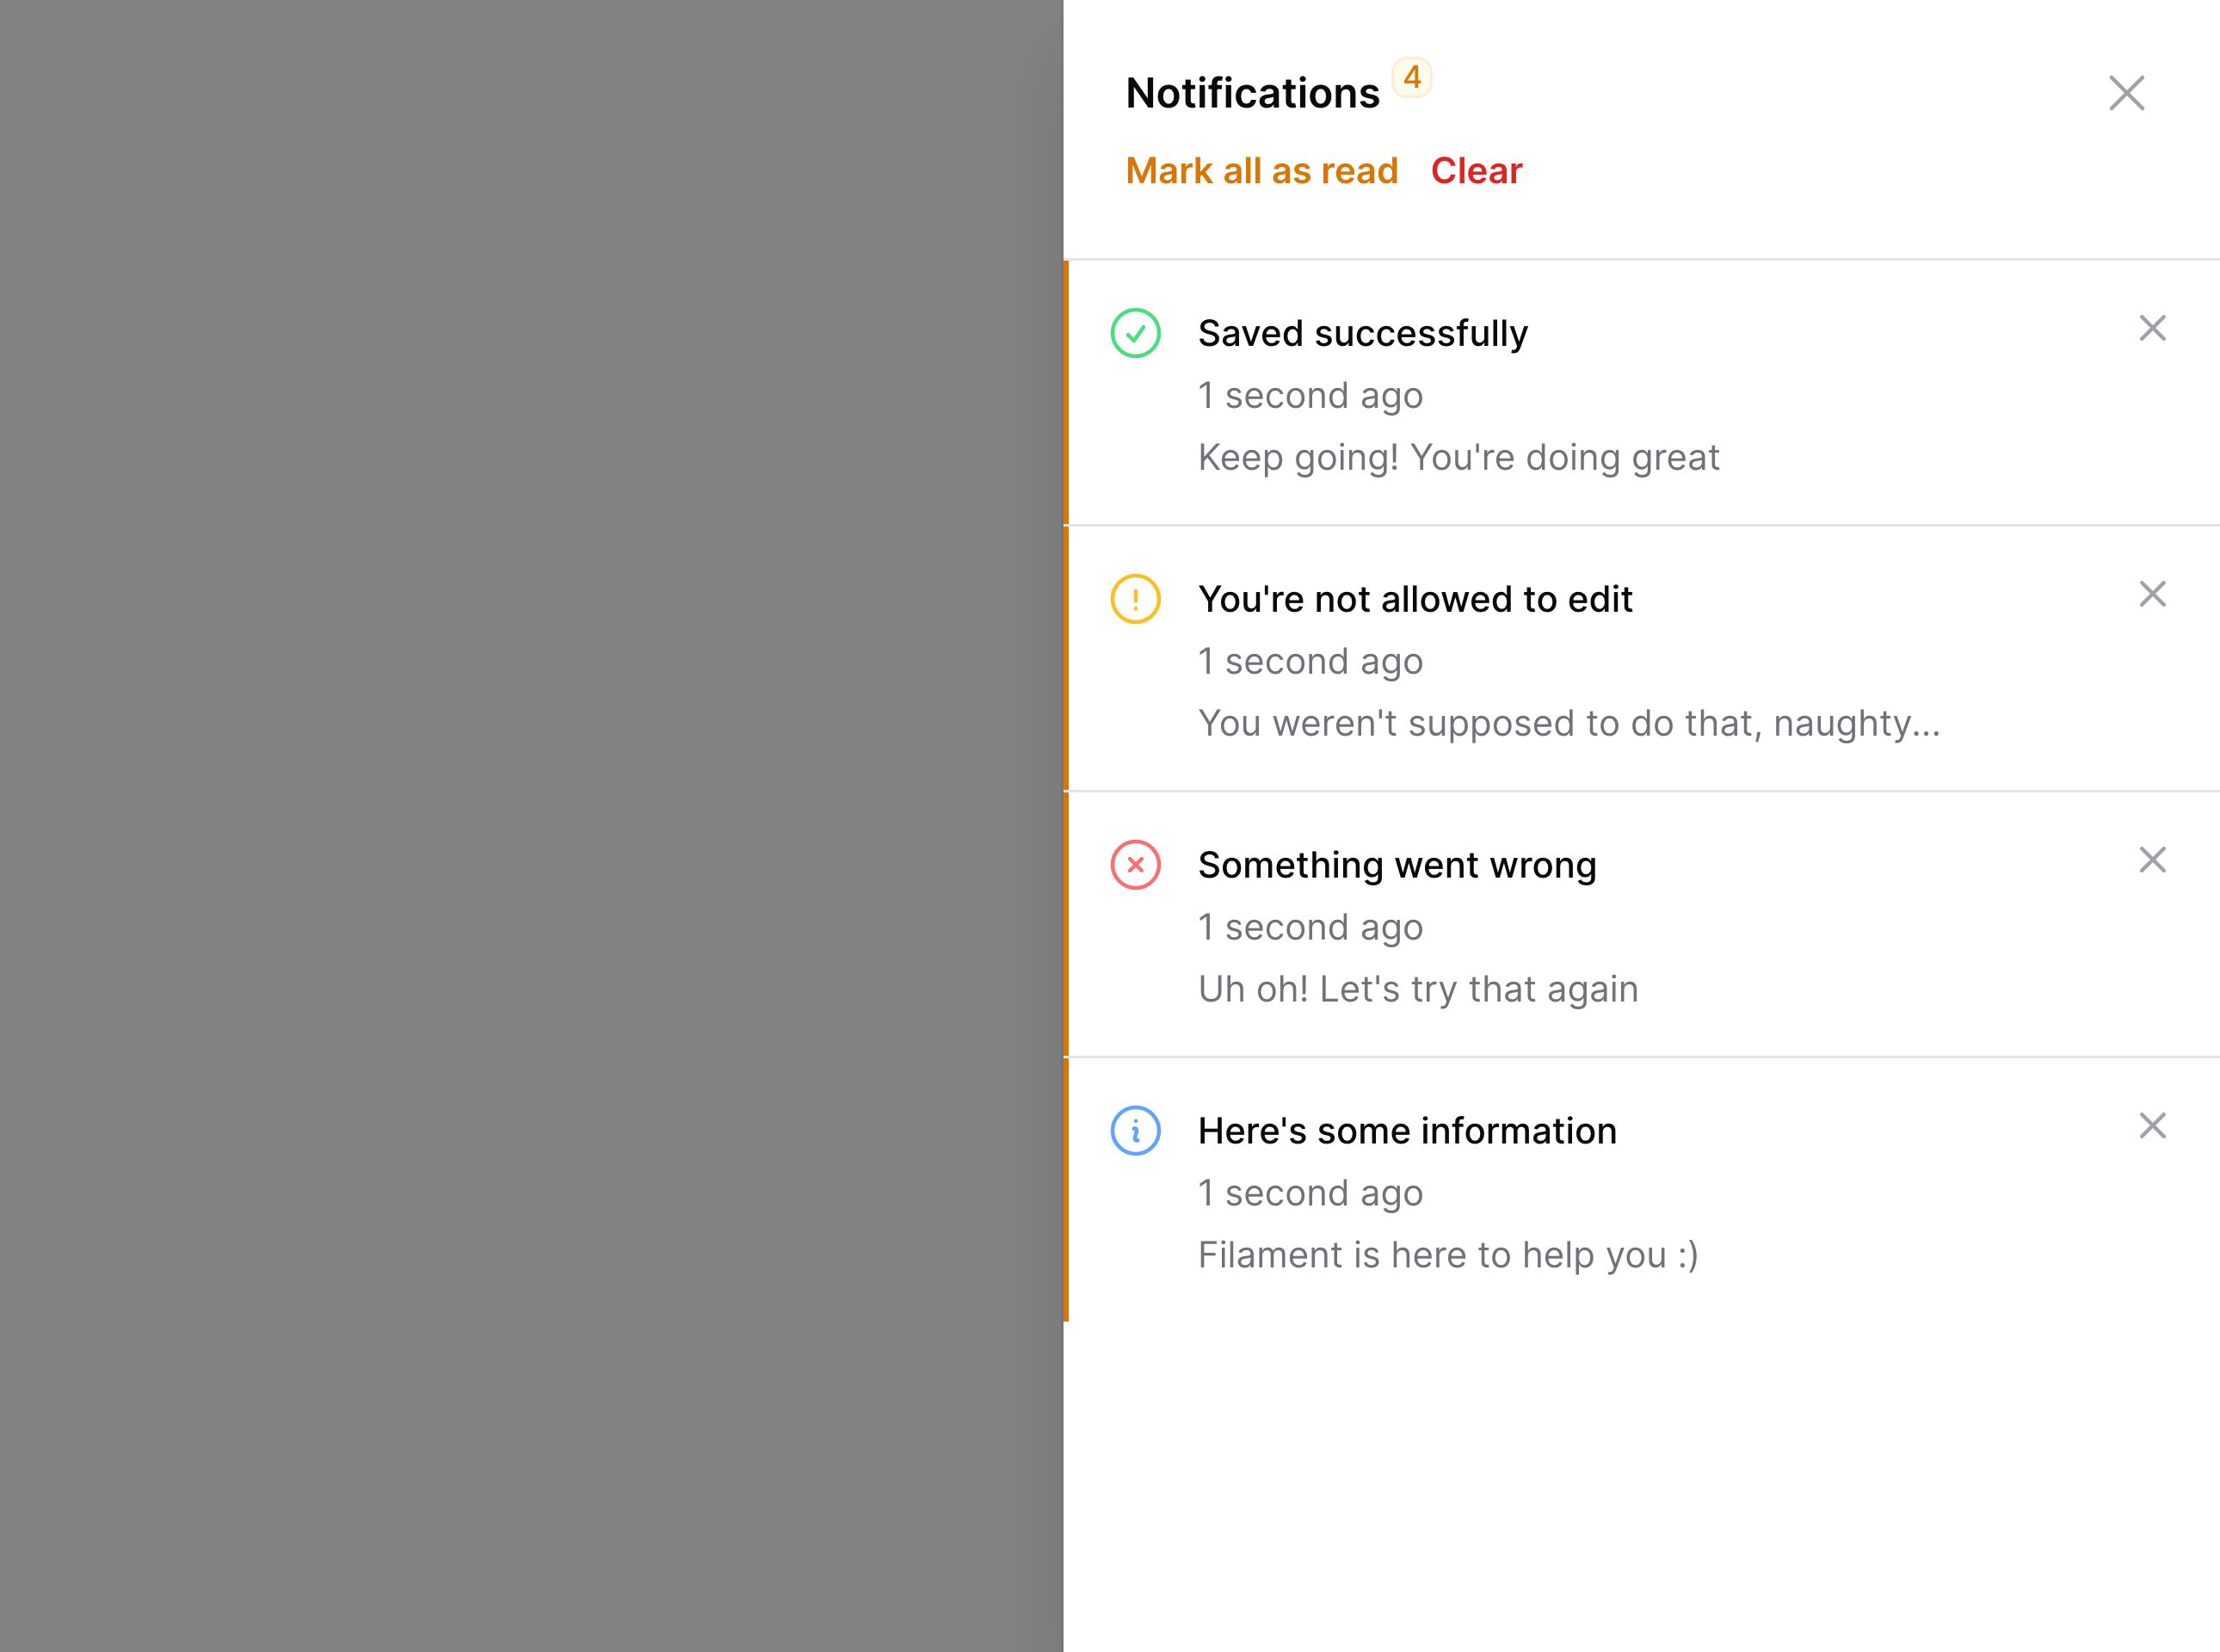
通知生成器
数据库通知

设置通知的数据库表格
开始前,请确保将 Laravel 通知表添加到数据库中:
# Laravel 11 and higherphp artisan make:notifications-table # Laravel 10php artisan notifications:table如果你用的是 PostgreSQL,请确保迁移中
data字段使用json():$table->json('data')。
如果你的
User模型中使用了 UUID,请确保你的notifiable字段使用uuidMorphs():$table->uuidMorphs('notifiable')。
渲染数据库通知模态框
如果你想将数据库通知添加到面板上,请按照本指南的这一部分操作。
如果你想在面板构造器之外渲染数据库通知,你必须在你的 Blade 布局中添加一个新的 Livewire 组件:
@livewire('database-notifications')要打开这一模态框,你必须在视图中有一个“触发”按钮。在应用中创建新的触发按钮组件,比如在 /resources/views/filament/notifications/database-notifications-trigger.blade.php 文件中:
<button type="button"> Notifications ({{ $unreadNotificationsCount }} unread)</button>$unreadNotificationsCount 是一个自动传入视图的变量,它提供了用户未读通知的实时数量。
在该服务提供者中,指向新的触发视图:
use Filament\Notifications\Livewire\DatabaseNotifications; DatabaseNotifications::trigger('filament.notifications.database-notifications-trigger');然后,点击视图中渲染的触发按钮。一个包含数据库通知的模态框就会出现!
将数据库通知模态框添加到面板
你可以在面板的配置中弃用数据库通知:
use Filament\Panel; public function panel(Panel $panel): Panel{ return $panel // ... ->databaseNotifications();}要了解更多详情,请参考面板构造器文档。
发送数据库通知
有多种方法可用于发送数据库通知,取决于哪一种更适合你。
你可以使用我们的 fluent API:
use Filament\Notifications\Notification; $recipient = auth()->user(); Notification::make() ->title('Saved successfully') ->sendToDatabase($recipient);或者,也可以使用 notify() 方法:
use Filament\Notifications\Notification; $recipient = auth()->user(); $recipient->notify( Notification::make() ->title('Saved successfully') ->toDatabase(),);Laravel 使用队列发送数据库通知。请确保队列以通知接收的顺序运行。
此外,还可以使用传统 Laravel 通知类返回通知给 toBroadcast() 方法:
use App\Models\User;use Filament\Notifications\Notification; public function toDatabase(User $notifiable): array{ return Notification::make() ->title('Saved successfully') ->getDatabaseMessage();}接收数据库通知
如果不进行配置,新的数据库通知只会在页面首次加载时收到。
轮询新数据库通知
轮询是定期向服务器发送请求,检查是否有新通知的操作。此方法安装简单,不过这不是可扩展的方案因为它会增加服务器负载。
默认情况下,Livewire 轮询每 30 秒发起一次:
use Filament\Notifications\Livewire\DatabaseNotifications; DatabaseNotifications::pollingInterval('30s');如果需要,你可以完全禁用轮询:
use Filament\Notifications\Livewire\DatabaseNotifications; DatabaseNotifications::pollingInterval(null);使用 Echo 接收 websocket 的新数据库通知
此外,也可以本地集成 Laravel Echo。请确保已经安装了 Echo, 以及服务端 websocket 集成如 Pusher。
一旦设置了 websocket,你就可以通过将 isEventDispatched 参数设置为 true 来自动发送 DatabaseNotificationsSent 事件。这将使用户立即获取新的通知:
use Filament\Notifications\Notification; $recipient = auth()->user(); Notification::make() ->title('Saved successfully') ->sendToDatabase($recipient, isEventDispatched: true);将数据库通知标记为已读
在模态框顶部有一个按钮,用来一次性将所有通知标记为已读。你可能也想将 Action 添加到通知中,然后将单条通知标记为已读。为此,请在 Action 上使用 markAsRead() 方法:
use Filament\Notifications\Actions\Action;use Filament\Notifications\Notification; Notification::make() ->title('Saved successfully') ->success() ->body('Changes to the post have been saved.') ->actions([ Action::make('view') ->button() ->markAsRead(), ]) ->send();此外,你可以使用 markAsUnread() 方法将一条消息设置成未读:
use Filament\Notifications\Actions\Action;use Filament\Notifications\Notification; Notification::make() ->title('Saved successfully') ->success() ->body('Changes to the post have been saved.') ->actions([ Action::make('markAsUnread') ->button() ->markAsUnread(), ]) ->send();打开数据库通知模态框
除了上述渲染触发按钮,你也可以通过派发(dispatch) open-modal 浏览器事件,在任何地方中打开数据库通知模态框:
<button x-data="{}" x-on:click="$dispatch('open-modal', { id: 'database-notifications' })" type="button"> Notifications</button>Still need help? Join our Discord community or open a GitHub discussion
